design project 1: translator interface
- Rachelle Vassoler
- Nov 16, 2022
- 2 min read

for this assignment, we had to create a simple translator interface in processing using button, rollover, loadFont, and loadImage.
we were introduced to new code and used them in our design
float; mousePressed();
PImage = img; boolean button
img=loadImage; PFont=myFont;
image(); myFont=loadFont;
if, else
for my design, I wanted to create an interface that followed the theme of different fruits. When running the code, the headline asks, "Which fruit is your favorite?" followed by an image of different fruits with buttons below. When a button is selected, the desired fruit will appear on screen. The interface will also change colors to match the fruit that is being selected.
I started by creating a mockup of my design in photoshop. I used stock images when presenting my idea, but I planned on drawing my own images of each fruit for this project.
I then got to work on recreating my design from my sketch in photoshop. It was fairly easy to to insert things like the background and the rectangles needed for the buttons. I learned adding a fifth variable to the end of a rectangle creates a rounded edge, something I wanted to use for the project. example:
rect(234, 563, 200, 300, 7);
the "7" variable represents how rounded the corner of the rectangle will be
After establishing a basic layout of the needed shapes, I worked on loading my own font into the code. While it was a bit tricky at first to figure out how to load a font, I found it was fairly similar to loading images in processing. Once my font was loaded, I began adding text to the buttons and headline.

I then needed to create the images I wanted to complete the design. I created vector drawings of each fruit in illustrator. I decided to created a final image of every fruit together to act as the first drawing seen on screen when running the code.
before: after:
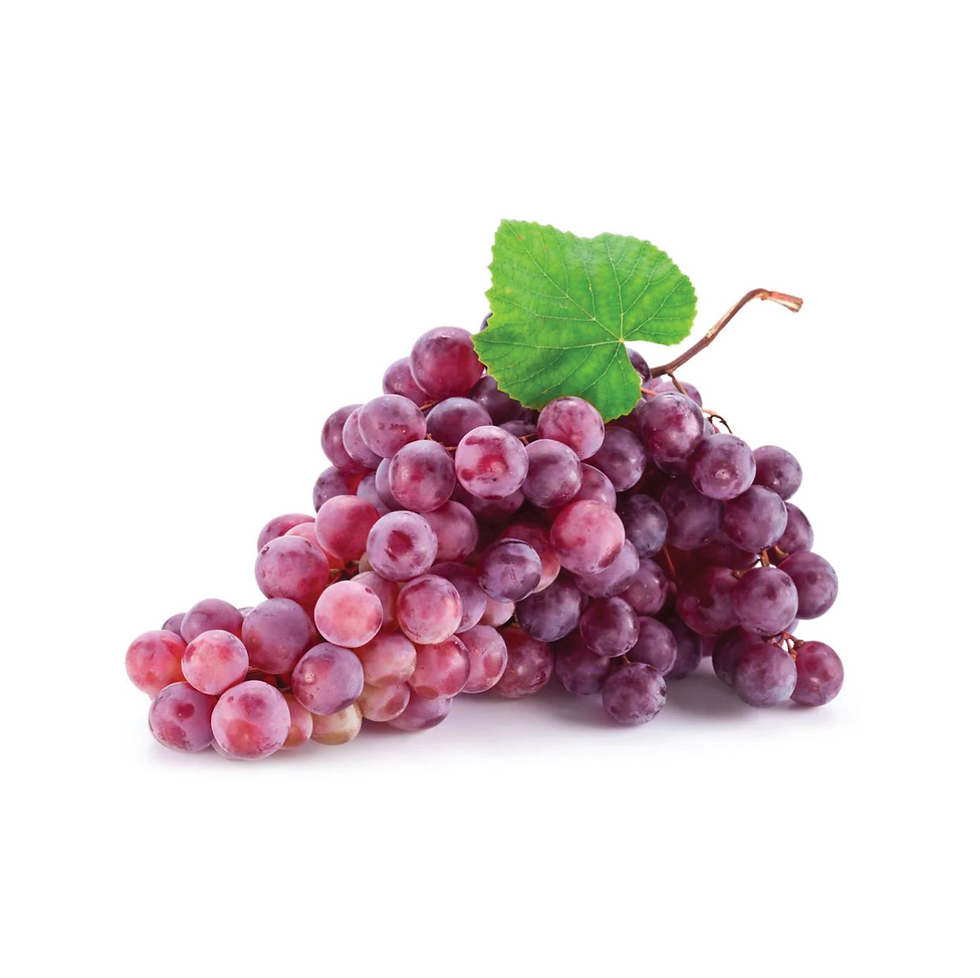

finished images of each fruit:


I then loaded each image into the program and assigned them to the correct buttons. An issue I ran into was figuring out how to make the combined images of fruit display when the code first runs. With help, I realized that if I set my headline button associated with this image to "true" before set up, then the image would appear when the code is ran.
example:
boolean buttonHeadline=true;
instead of:
boolean buttonHeadline=false;
After fixing this problem, I wanted each button to change the colors of the whole interface to correspond with the fruit selected. I implemented more code into each button that would change the colors of the background, buttons, and text. This was a fairly simple step, just lots of moving things around and copy and pasting code.
My interface was complete after this.
screenshots:


my code:
my project:

Comments